Lesson 8 - Black & White
Color
|

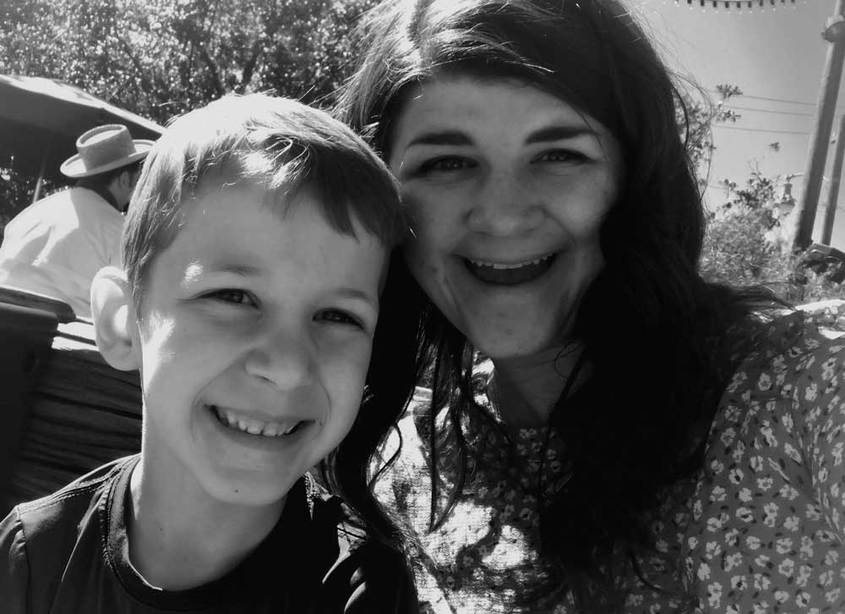
Black & White
|
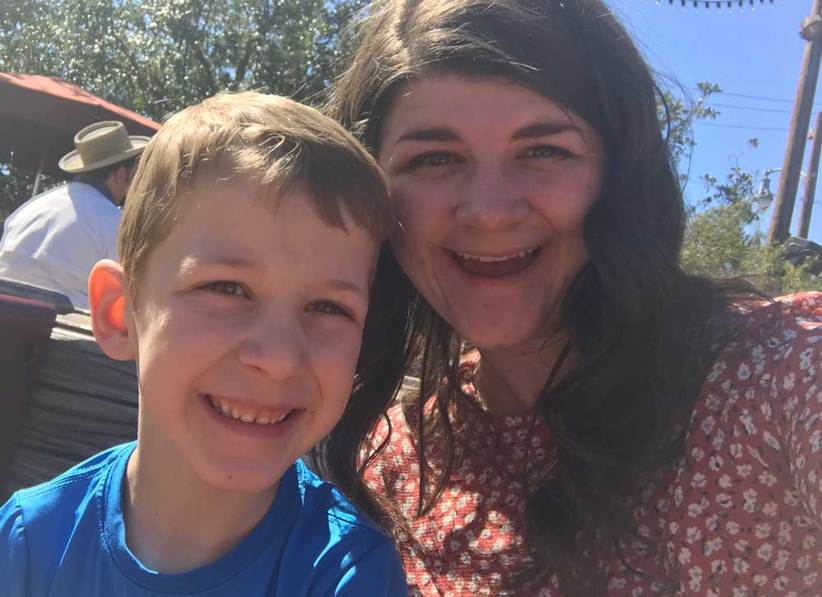
I recently had the opportunity to go to Disneyland with my family over Spring Break. Throughout the trip, we took a lot of pictures and the selfie game was strong. I used one of the images and turned it into black and white to emphasize the focus of the subjects (my cousin + I) because the original image was not the best quality.
Photoshop Skills Used:
Design Thoughts:
Resources:
Image Source: TaKelle Newton, personal library
Video Tutorial: https://www.youtube.com/watch?v=reqL-VZn48Q
Photoshop Skills Used:
- Crop Tool
- Channel Mixer Adjustment Layer
- Black and White Adjustment Layer
- Brush Tool + Layer Mask
- Levels Adjustment
- Posterize Adjustment Layer > Filter > Blur > Gaussian Blur
- Noise Adjustment
Design Thoughts:
- Cropped the image to make the subject closer and remove unnecessary surroundings
- Used the Channel Mixer Adjustment Layer, applied Monochrome, to turn the image black and white
- Applied the Black and White Adjustment Layer to make blacks darker and whites brighter
- Combined the Channel Mixer Adjustment Layer and the Black and White Adjustment Layer by adding a mask to a new layer and painting with the Brush Tool over the areas I wanted to gain from the Black and White Adjustment Layer
- The Levels Adjustment made the dark areas lighter and the white areas darker
- Posterize Adjustment Layer created a unique effect to exaggerate the black and whites, as I applied Guassian Blur to bring out the different shades
- Noise Adjustment helps establish an aging effect
Resources:
Image Source: TaKelle Newton, personal library
Video Tutorial: https://www.youtube.com/watch?v=reqL-VZn48Q
