Extra Credit Exhibit 1 - Lesson 12 - 3D in Photoshop
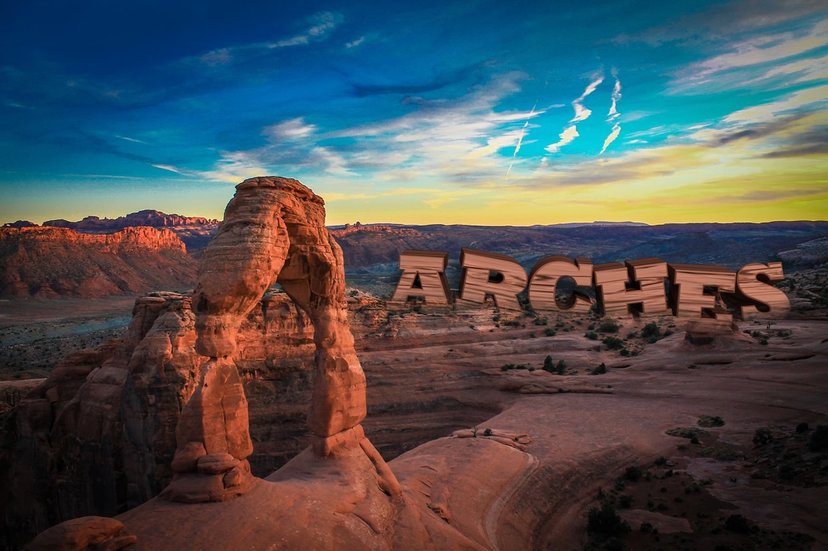
Recently visiting Arches National Park, I was inspired by the natural beauty within the rock formations and thought I could add 3D text to appear as rock formations to the Delicate Arch Landscape. Applying these affects would transform the landscape into a post-card like image + I am happy with the way it turned out.
Photoshop Skills Used:
Design Thoughts:
Resources:
Image Source: https://www.pexels.com/photo/landscape-arches-delicate-arch-national-park-28051/
Texture Image Source: https://www.pexels.com/photo/close-up-pattern-rocks-stones-170461/
Photoshop Skills Used:
- Text Tool
- 3D Extrusion from Selected Layer
- Move Tool
- Bump Setting- surface texture
- Zoom Tool
- Bevel applied to edges of text
- 3D Material Eye Dropper Tool
- Split Extrusion
- Layer Mask
- Brush Tool
Design Thoughts:
- Text Tool: used a block font (Rockwell Extra Bold) at size 250 pt.
- Made the background layer not visible to just focus on making the text 3D.
- Once the text layer was selected, I found a rock texture and applied it to the front inflation material as a bump map. Edit texture to scale it to size by editing UV Properties.
- Zoomed, using the Zoom Tool, into view text and applied Bevel- 11-14% percent.
- Excursion texture applied by using the 3D Material Eye Dropper Tool.
- Move Tool used to put text into place once the background layer was visible.
- Split Extrusion to make the text jumbled and created separate meshes for each letter; allowing each letter to be repositioned individually.
- Move Tool to help orient the letters to be positioned strategically.
- Layer Mask applied to 3D Text Layer + Brush Tool used to blend text into background at hardness 100%.
Resources:
Image Source: https://www.pexels.com/photo/landscape-arches-delicate-arch-national-park-28051/
Texture Image Source: https://www.pexels.com/photo/close-up-pattern-rocks-stones-170461/
